Fall is all around (even here in Dallas). As the weather cools and sunset occurs earlier, the grackles seem to gather together even more than the rest of the year. I must admit that (unlike many I know) I am fascinated by them. I have been honked at many times for not moving at a green light because I am mesmerized by the hundreds of grackles delicately perched on the wires at the intersection.
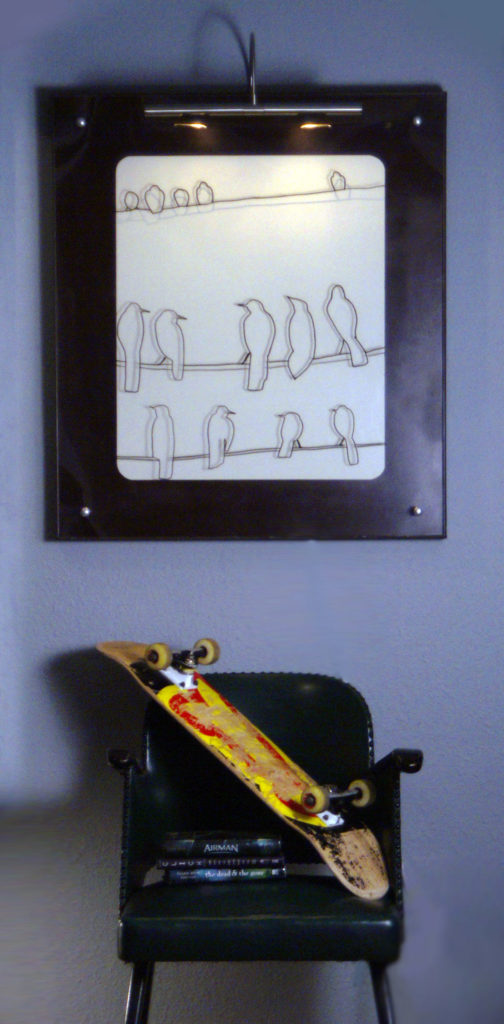
The grackles are the inspiration for our Art You Can Do project today. This technique is a form of reverse painting and couldn’t be easier. The results are modern and fun. We have included the grackle templates that we used so you can make one just like ours or draw your own.
savour… social gathering
ART YOU CAN DO – GRACKLE LINE
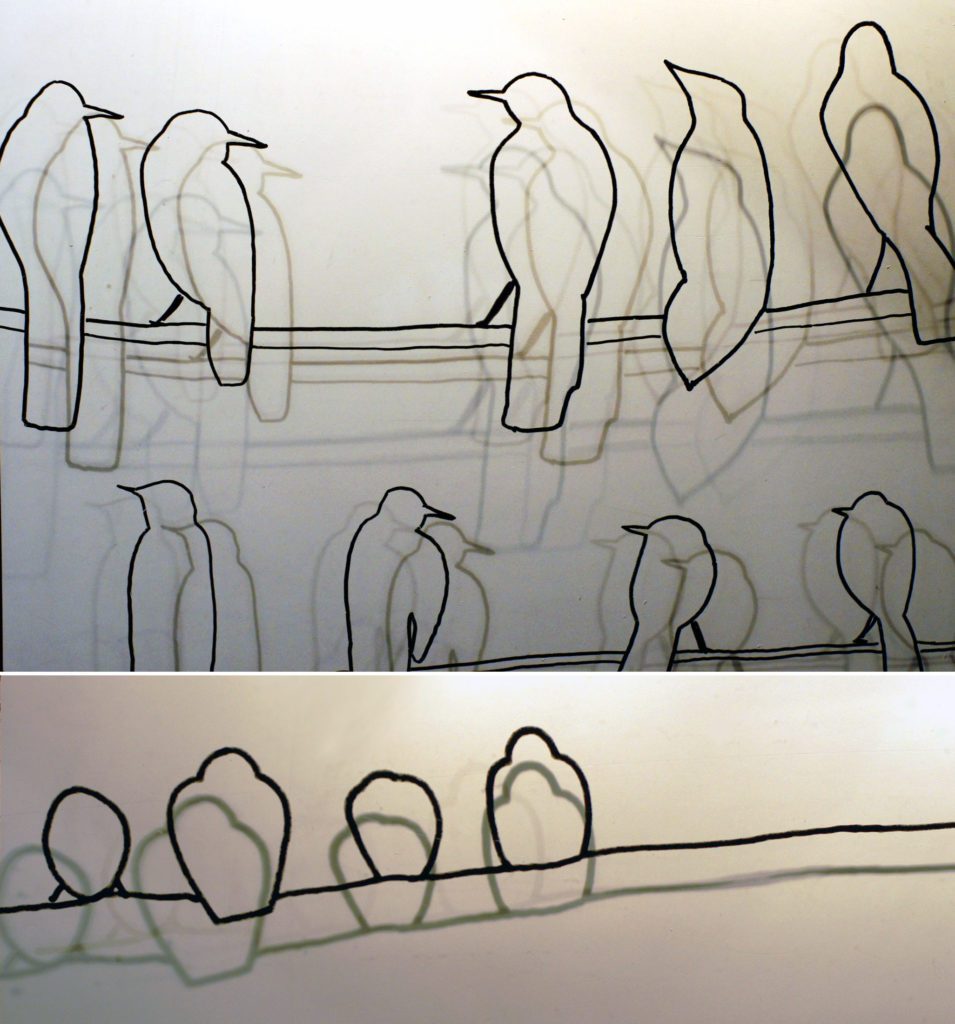
Before you start:
You could do this with a graphic other than grackles, but I would stick to something that looks better in masses, such as butterflies or flowers or the like.
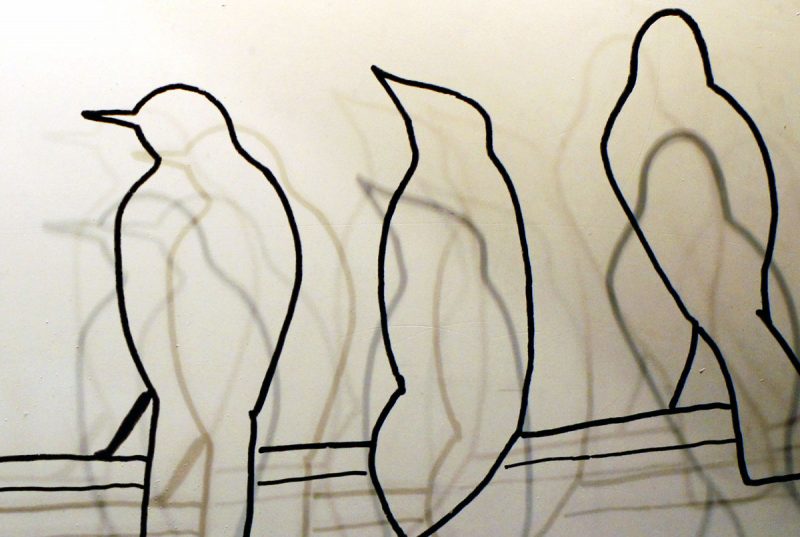
If you venture out on your own be sure to use areas with differing depths. This will give your finished product much more dimension.
As you might imagine, light is critical to the success of this project. The shadows really make it special. You might consider putting your gallery light on a timer so you can enjoy your piece regularly.
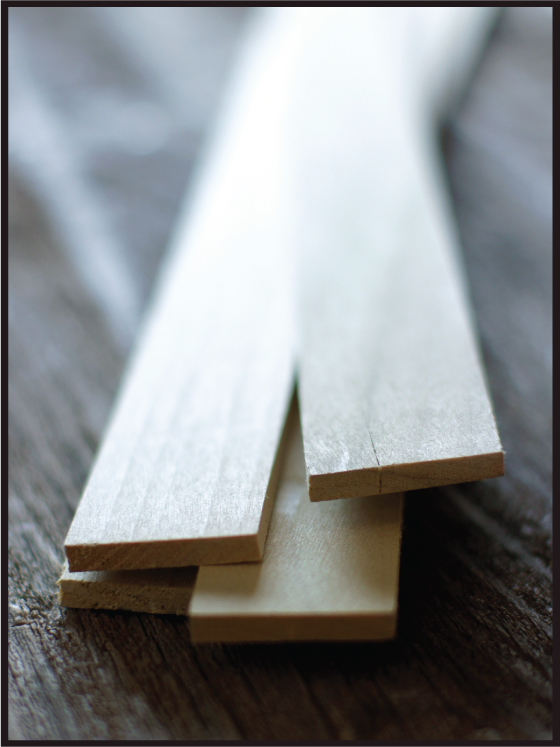
You could make your frame from differently sized trim. We chose this one for a clean, modern line. You could also purchase a frame to fit.
The materials:
- Plexiglass
- Grackle template (GracklesNo1, GracklesNo2, GracklesNo3)
- Four screw/bolts
- Four spacers made from ½ inch PVC tubing (cut in one-inch lengths)
- Four knobs
- Contact paper
- Spray paint in two colors
- Paint pen
- Hollow Core Door
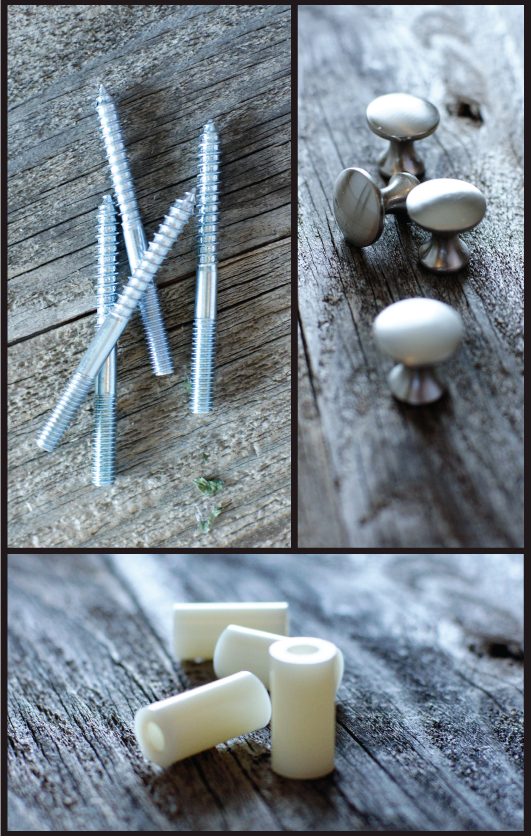
The steps:
- Cut the door with the saw of your choice. Be sure to use a guide to keep the cut as straight as possible.
- Paint the ‘canvas’ the color of the border. Be sure to paint the sides, as well.
- Connect pieces of contact paper along the edges to make a piece big enough to completely cover your canvas. Cut it to fit.
- Measure 4 inches in on all sides of the contact paper and draw a line from end to end.
- Use a plate or bowl or lid to make a curve at each corner.
- Carefully cut out the center of the contact paper revealing a mask for your border.
- Apply the contact border to the artboard only after it is completely dry.
- Spray the inside of the border with the alternating color.
- When dry carefully drill 3/8 inch holes in all four corners of the Plexiglass. The holes should be 1 inch in and 1 inch up from the sides.
- Lay the Plexiglass on the canvas and use the holes as your guide to mark for drilling on the canvas.
- Drill pilot holes with a ¼ inch drill bit at each of the marked spots.
- Screw the screw end of your screw/bolt into the artboard.
- Slide PVC tubing over the bolt end.
- On a large piece of paper or poster board draw out your design.
- Place completed drawing under the Plexiglas and use your paint pen to trace the lines. As an alternative, you can tape together the grackles in the template in the arrangement you desire. You will have to draw in the wire they are using as a perch, though.
- Turn your Plexiglas over and slide over the bolts.
- Screw the doorknobs on the bolts until secure.
- Spray 1/4 inch x 1 3/4 inch trim and cut to make a simple frame around the piece.
- Install gallery light.
- Hang with d-rings and picture hanging wire.
