Does your patio rest in the doldrums? Is it a place to store the garden hose or have you found a quiet corner to call your own? Consider the patio another space in your home and make it a destination.
Over the past couple of years, home improvement centers have begun offering lots of home products traditionally thought of as ‘inside items’ to be used outdoors including table lamps. These products have been designed specifically for outdoor use and are weather resistant.
Don’t let taking the inside out stop with furniture though. Exterior walls could certainly be used for artwork or accessories to complement your patio ‘room’. What you place on these walls will need to be somewhat weather resistant based on exposure to moisture. It should not be precious.
Today we offer up one solution meant for summer. It is stylish and sweet and adds just the right amount of color to our patio space. The best part of this project is that it is incredibly inexpensive. he trays all came from a thrift store and the entire project was less than $25.
savour… quiet corners
SUMMER SILHOUETTES
Before you start:
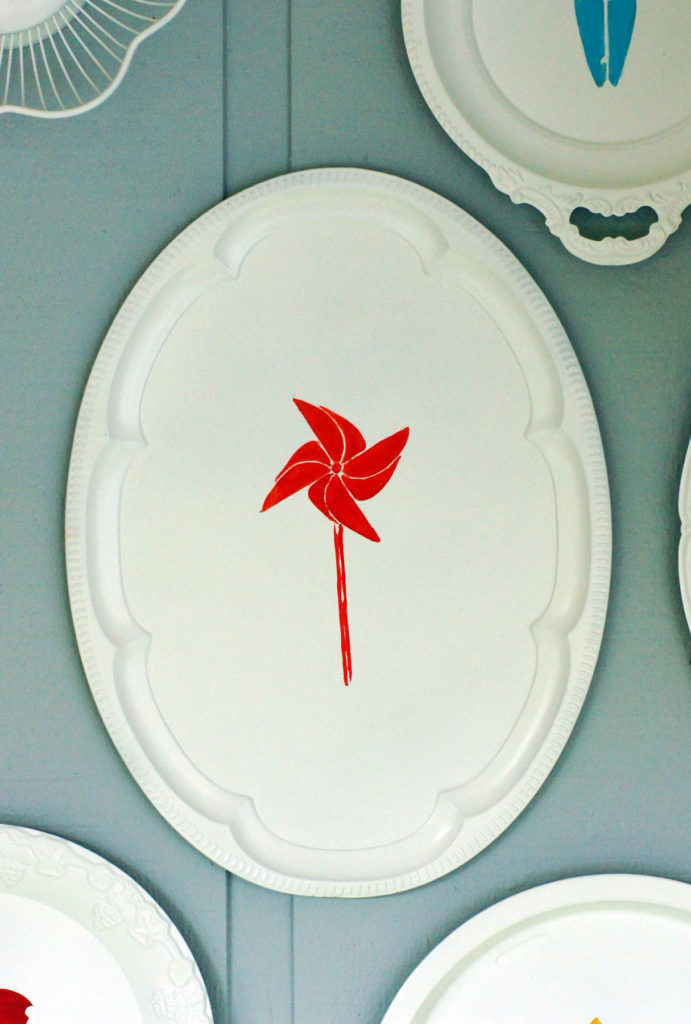
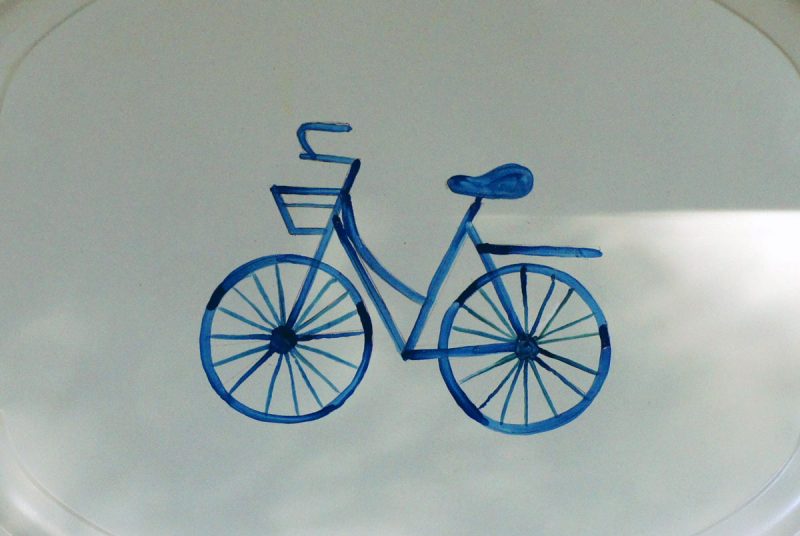
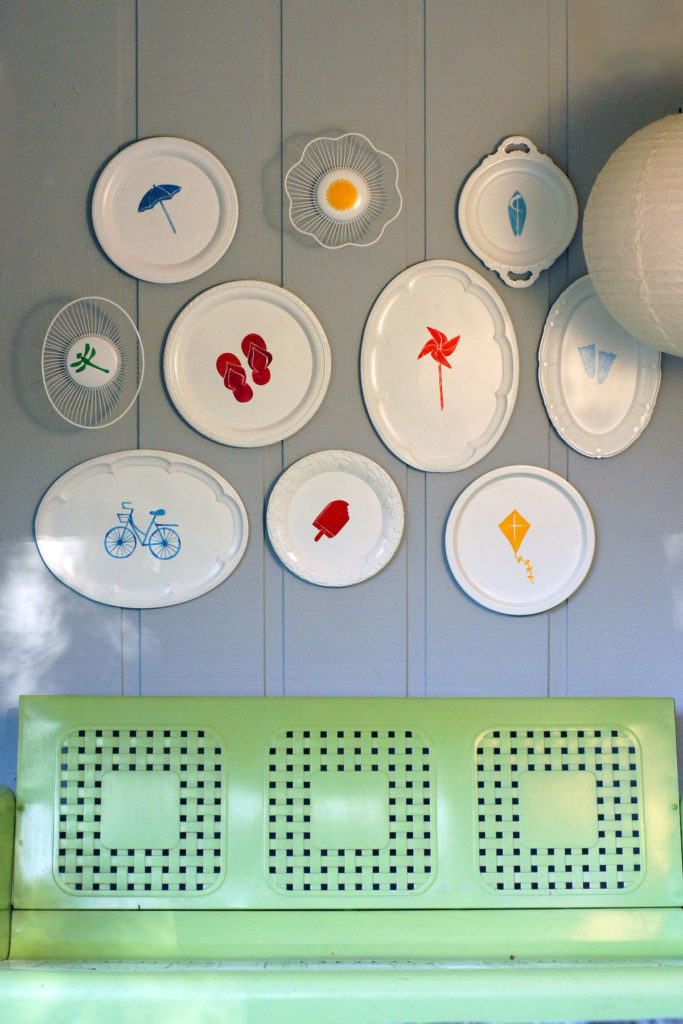
The idea behind this project is to use summer icons painted with bright summer colors in silhouette form. You may use the icons we have here or you might have ideas of your own. The icon will have to be relatively simple for the silhouette to be effective.
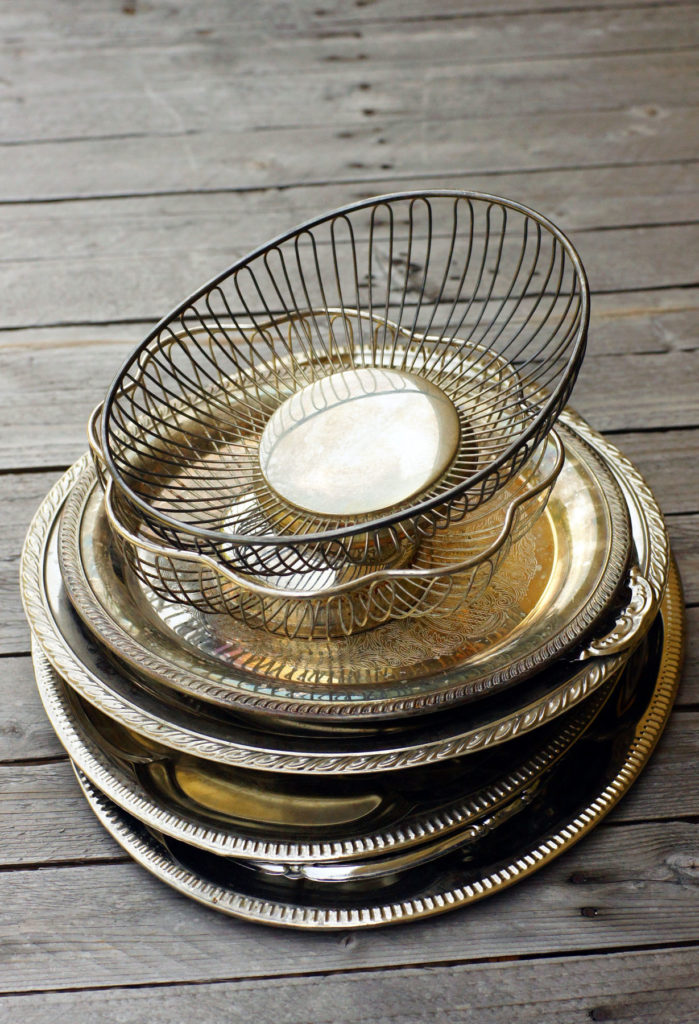
When buying your trays, look past its usefulness as a tray and think more about its shape and details. After it is painted tarnish won’t matter.
In silhouettes remember that sometimes color isn’t nearly as important as the absence of color. A few well-placed lines without color help to define the highlights and tell the story of your object.
This project could definitely be moved indoors if you prefer.
You might want to buy extra trays and keep them around for a similar fall project.
There are more of these trays out there than you might think. I found them at every thrift store I visited. Some were 99 cents and none were more than $1.99.
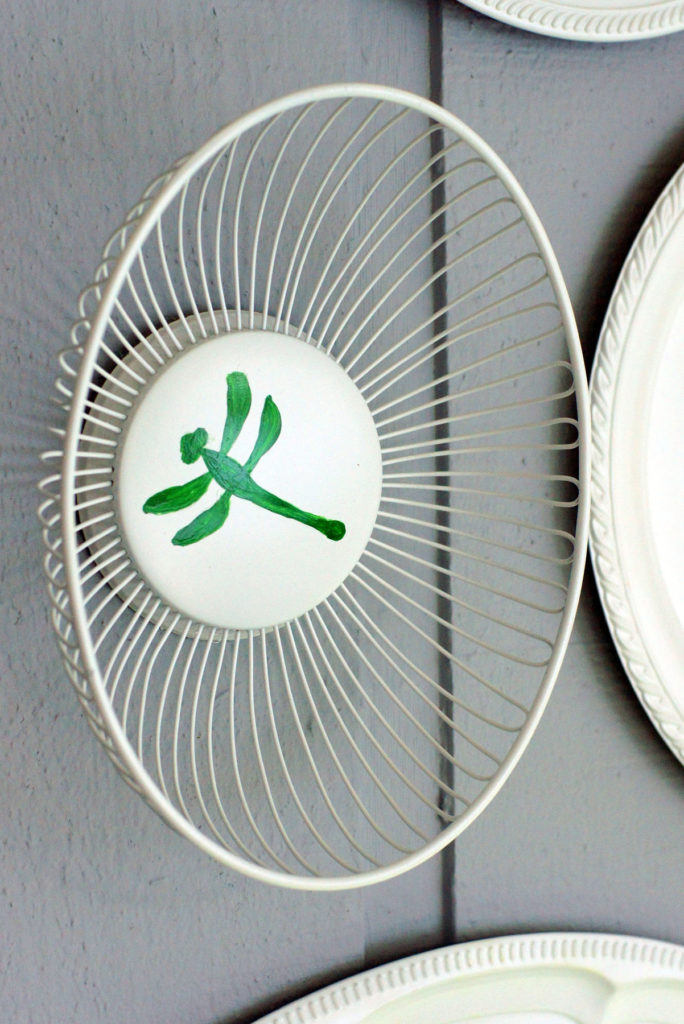
Think beyond trays. You see in the photos that we also found some metal fruit bowls. The center of them was perfect for a small picture and the wire ‘frame’ adds texture and interest.
The materials:
- Trays
- Primer
- White spray paint
- Steel wool
- Enamel model paints
- Paint brushes
The steps:
- Wash trays in warm soapy water, rinse, and let dry completely.
- Lightly rub with steel wool to prep.
- Apply spray primer to the front of the tray and around the edges. It is not necessary to paint the back.
- Spray paint the trays according to the paint manufacturer’s instructions.
- After drying lightly rub with steel wool to remove any raised parts.
- Wipe off steel wool residue with a slightly damp paper towel.
- Apply a second coat of paint.
- Repeat steps 5 & 6.
- Lay your trays out on a flat surface in the arrangement that suits you. Be sure to evenly distribute the shapes so that circles and ovals are mixed. Also, consider turning an oval or two on its side.
- Take a photograph of the trays laid out for reference.
- To get the icons to the trays you have a couple of options: 1. Draw them on freehand using the icons here as a guide. 2. Print icons from here or elsewhere on sticker paper and cut and stick (this will have to be sealed in some way). You could also decoupage, I imagine. 3. Use carbon paper or a craft projector to trace the icons onto the tray. Note: I prefer painting the silhouettes on the trays, but if you are concerned about your painting skills the stickers are a close second.
- Use an adhesive tab with a ring attached to the back to hang the trays on the wall. Start with the center tray in the photograph you took earlier and place it in the center of the space you wish to fill. From there, hang your trays around it. Be sure to not leave too much space between trays.
