It’s been a long week. I planned several posts for this week, but circumstances beyond my control prevented me from presenting quality material. The good news is that I have a new computer and internet solution, so I am ready to go. To make up for the delay, I brought you something shiny. I hope you like it.
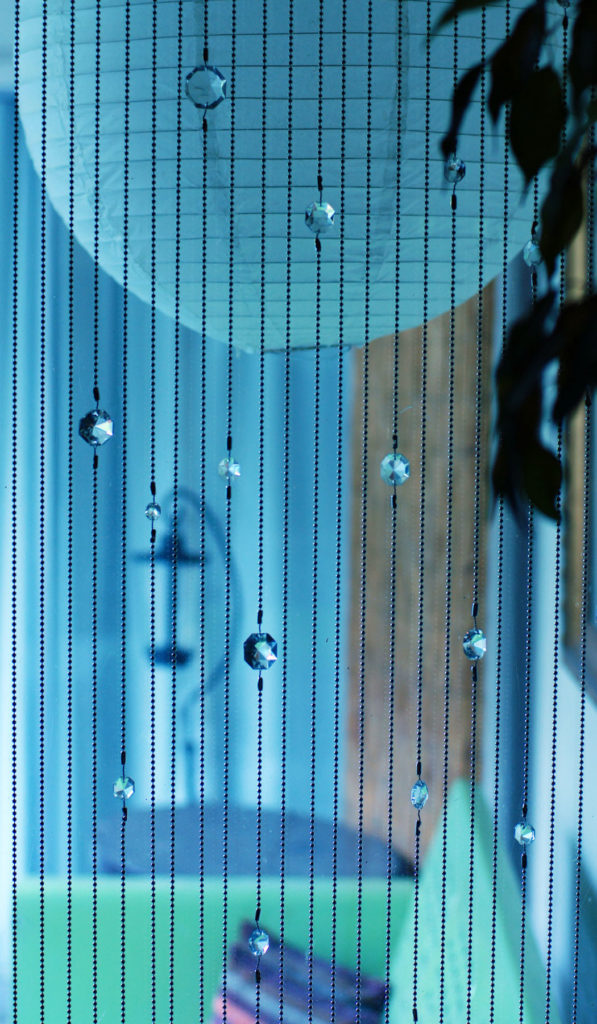
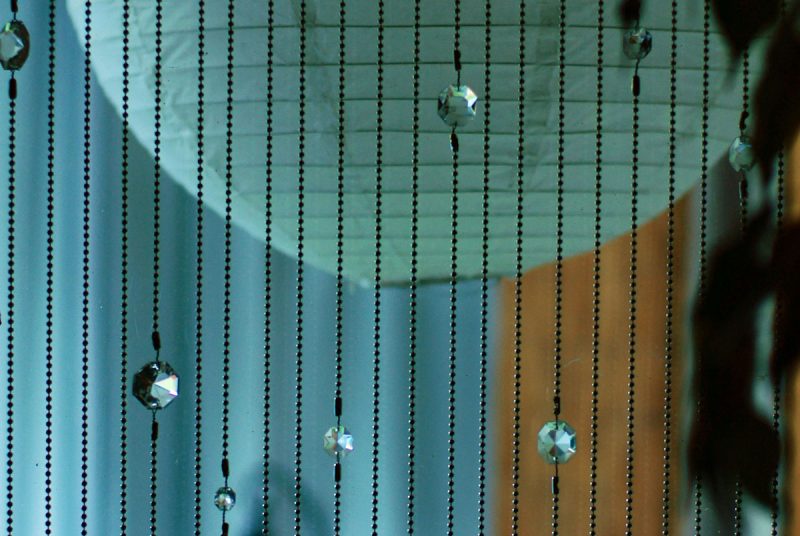
Several years ago I bought a sack full of chandelier crystals for a ridiculously low price at the Rose Bowl flea market. They have been waiting out their chance to shine while sitting in a bin in the studio. Many will still have to wait for another project (maybe a lighting project), but I shined a few up for this beaded curtain project to bring a little sparkle to a drab corner of a room.
savour… your chance to shine
CRYSTAL CURTAIN

Before you start:
You will find the crystals in many places. Look at tag sales, garage sales, or even on eBay.
I purchased the ball chain on the internet years ago. I don’t remember the supplier, but you will find many if you search for it.
Try to find it in a spool of chain that holds many feet in one long continuous strand. Some will come in smaller (say 5ft) spools. This is fine unless your window is substantially longer. You may find yourself piecing your strands together.
The size of the crystals I used forced me to space the chain as I did. You may be able to get yours closer together if you use all smaller crystals.
Decide on the spacing based on your biggest crystal. Then make all of the spacing equal.
I used metallic tape to finish the board to add a little extra sparkle and to maintain the look of the room. You may remember the tape from this acorn credenza project. You could also paint the wood to match the window frame where you are installing.
I have indicated 2 crystals per strand based on my 6-foot window. This is just an average. The number of crystals on any given strand varies from zero to three.
Speaking of that, try to place the crystals randomly. This will give your project a much more natural feel.
Try to keep your drilling as even as possible. Any wild variations will show in the finished product.
Your drill bit should make a hole just slightly larger than the diameter of your ball chain.
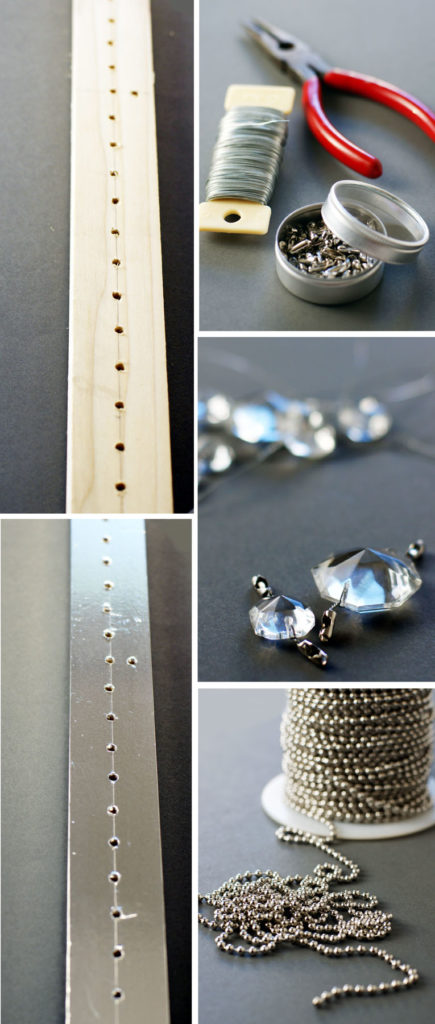
The materials:
- Wire
- Wire cutters/needle nose
- Staple gun
- Drill
- Handsaw
- Screws and screwdriver
- Metalic tape
- Ball chain
- Ball chain connectors – 2 for each crystal
- Chandelier crystals – average 2 per strand
- Tape measure
- Pencil
- 1″x2″ lumber
The steps:
- Measure your window across the top. Cut a piece of 1″x2″ wood that length.
- On a wide side of the wood mark halfway point between the two edges at both ends. Connect the marks making a long line down the center of the board.
- On the line, you’ve just made, mark the center point between the two ends of the line. Using that as the starting point, mark spots along the line using the spacing you’ve determined based on your biggest crystal (1/2 of the width of the largest crystal) in both directions from the center.
- Carefully drill holes on these marks.
- Make one hole at each end between the last two holes and one in front of the center hole. These will be used to attach the curtain to the window frame.
- Line the edge of your metal tape up with the centerline you drew. Wrap it around one side of the board. Do the same for the other side of the board. Clip and wrap the corners neatly. Rub the tape to remove any wrinkles that have occurred.
- Punch holes in the metal tape where the drilled holes are.
- Thread wire (about 3 1/2 inches) through each end of your crystals and twist tightly. Use the needle-nose pliers to curl the ends and form a small “ball” of wire.
- Attach a connector to each end.
- Measure out the area your curtain will cover on the floor (carpet is best). Layout the crystals in a pattern that suits you. Don’t be too concerned about precision just yet.
- Measure out lengths of the ball chain between each crystal and clip with the wire cutters. Attach as you go. For the final piece, lay the entire length on or near your tape measure. Pull to the desired length base on the height of your window and snip at the end.
- When all of your strands are complete, wrap wire (about 4 inches) around the very top ball of the strand. Feed each strand through its corresponding hole and wrap over the edge.
- When all strands have been threaded, staple them in place on the top and trim off the excess.
- Attach to the window frame with screws in pre-made holes.
