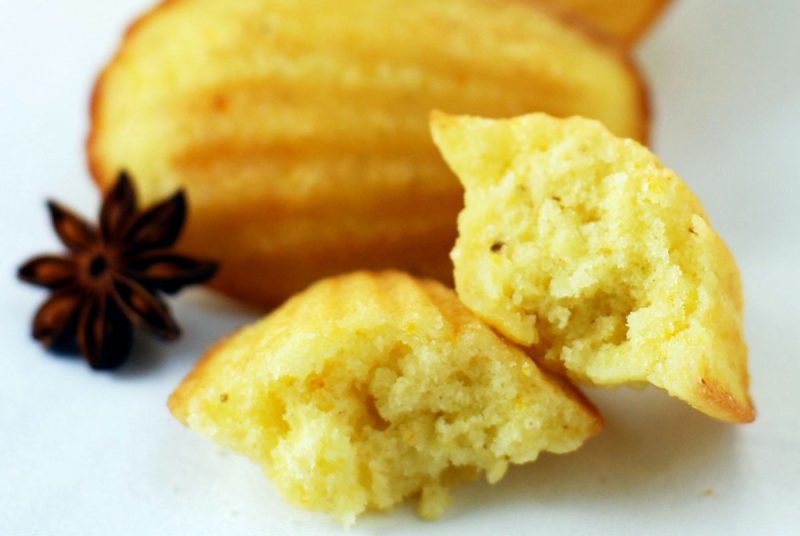
Oh, the madeleine. It is the perfect combination of sponge cake meets butter cake and in a package that eats more like a cookie than cake… sheer brilliance. The centers are soft and spongy. The edges ensure that you get some crispiness in nearly every bite. The glaze adds the perfect amount of sweet texture. These orange anise madeleines are all of that… plus unique flavor.
Plain madeleines are wonderful. Lemon madeleines are divine. Today we have paired up two flavors that go so well together. The fragrant orange and aromatic anise make this treat very special. For those of you who have not used anise before, it has a very distinct licorice fragrance and flavor.
These are far easier to make than you might imagine… and the payoff is 100 times the effort. Enjoy these with an afternoon tea or a cup of coffee. Plan on having more than one.
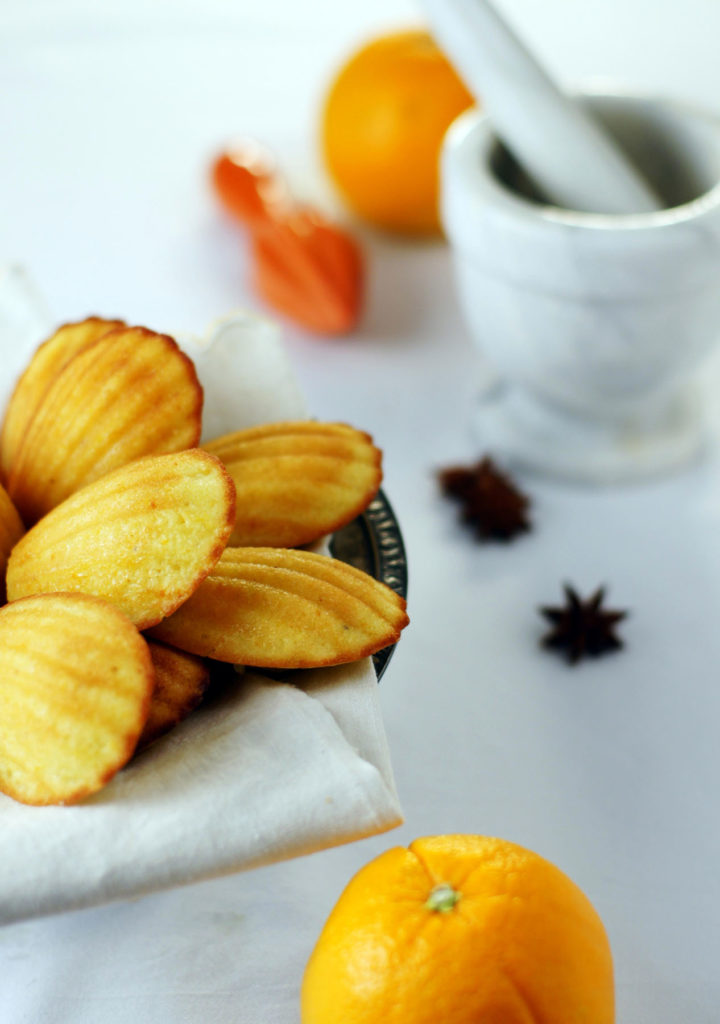
Before you start:
To toast the anise seed, place the seeds in a non-stick skillet over medium heat. Stir frequently while they heat to release their flavor. This should take just a few minutes.
Zest the orange before you cut and squeeze it for the fresh juice.
You could make these in a mini muffin pan, too. The Madeleine pan is optional, although ideal. It provides enough cakey part in the middle with loads of crispy edges.
If you don’t have an oven thermometer in your oven, you may wish to invest in one. You cannot always trust the one on the control panel. For example, at higher temperatures, an oven can become somewhat unreliable. If the heat is too high here, the bottoms will burn before the inside is fully cooked.
The dough will spread on its own. For a standard size madeleine pan, we used a level, medium cookie scoop. The amount was perfect and leveling it off with a butter knife provided consistent results.
Be careful removing them from the pan. They will be hot. Use a paper towel if necessary.
Madeleines are best if eaten the same day, but can be stored in an airtight container for a few days.
To make the second batch rinse the pan in cold water, dry it with a paper towel, lightly oil again, and place it in the freezer for a few minutes.
Orange Anise Madeleines

Perfect little packages packed with flavor.
- Prep Time30 min
- Cook Time10 min
- Total Time40 min
- Yield2 dozen
The ingredients:
FOR THE MADELEINES:
- 1½ cups cake flour
- ½ teaspoon baking powder
- ¼ teaspoon salt
- 1 teaspoon ground anise seed
- ¾ cup (1½ sticks) unsalted butter at room temperature, in small pieces
- 3 eggs + 1 egg yolk
- ¾ cup granulated sugar
- 1 teaspoon orange zest
FOR THE GLAZE:
- 1½ cups confectioners sugar
- 2 tablespoons fresh orange juice
- 4 tablespoons water
The Method:
1
Lightly oil madeleine pan and place it in the freezer.
2
Toast anise seed and grind with a grinder or pestle and mortar.
3
Sift together flour, baking powder, salt, and anise seed. Set aside.
4
Using the back of a rubber spatula, smooth and mash down butter in a bowl until it is smooth and creamy (mayonnaise consistency).
5
In a mixing bowl, whisk eggs and yolk, granulated sugar, and zest on high speed until thick and light yellow (about 5 minutes). Sift flour mixture over the egg mixture in thirds. Stop after each addition and gently fold in flour just until moistened.
6
Place a dollop of egg/flour mixture into the butter and fold together. Pour all of the butter into egg/flour mixture and fold together gently. Cover with plastic wrap and place in the refrigerator for at least 45 minutes.
7
Preheat oven to 425˚F.
8
Drop enough dough into each Madeleine to fill 3/4 full. Do not spread it out. Bake for 8-10 minutes or until lightly golden brown on top with browned edges.
9
While they bake, make the glaze by adding all of the ingredients together and mixing until smooth.
Remove from the oven and immediately loosen from pan with the tip of a knife. Carefully tip out of the pan and cool slightly on wire baking rack.
10
As soon as they are cool enough to handle, dredge them through the glaze. Place them on the wire rack with the shell side up to cool completely.

