I hate to discard useful things. I don’t keep things for the sake of keeping, but I admit that I do have an alarming collection of things that I am saving for the “perfect” project. Sometimes they are items that have outlived their usefulness in our home. Sometimes they are donated by friends to feed my obsession. There is, of course, a wide assortment of thrift store/yard sale items waiting for their day to shine. You might even spot a curbside find or two.
The materials used in today’s project have been kicking around the studio for months.I do not recall how we came to own the bad green foam footstool, but I knew I wanted it for the foam. Foam is expensive and if you are lucky enough to have a resource for different shapes you are certain to pay even more for it than the sheets available at most fabric stores.
The fabric itself was leftover from a chair we reupholstered long ago. Apart from that, just a few other materials are required… many of them are likely to be in your craft area.
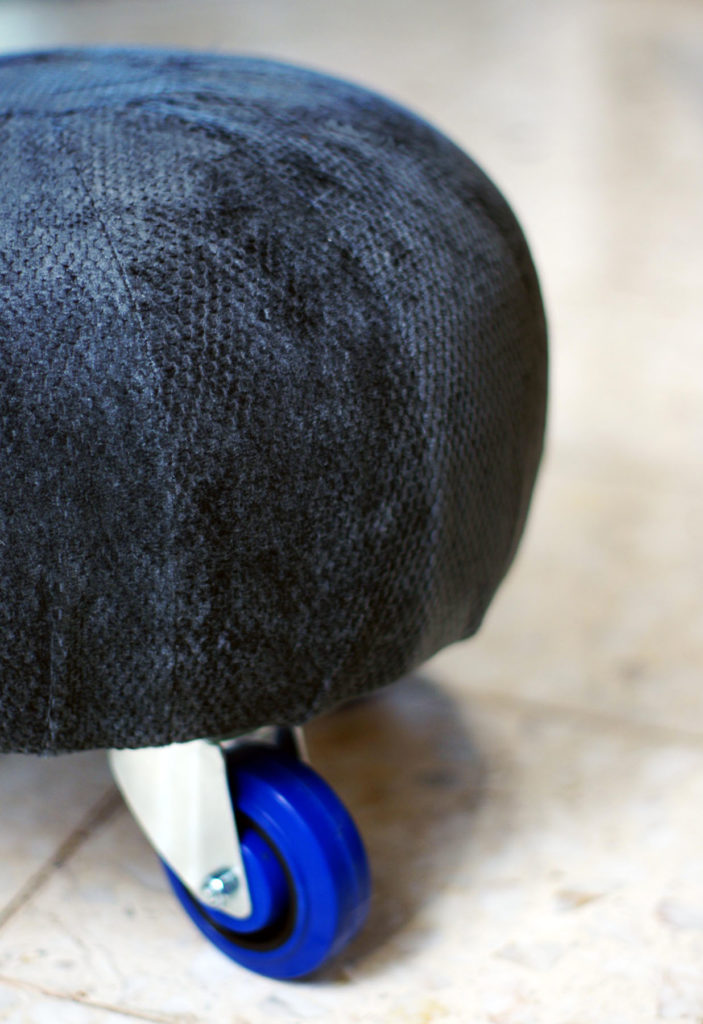
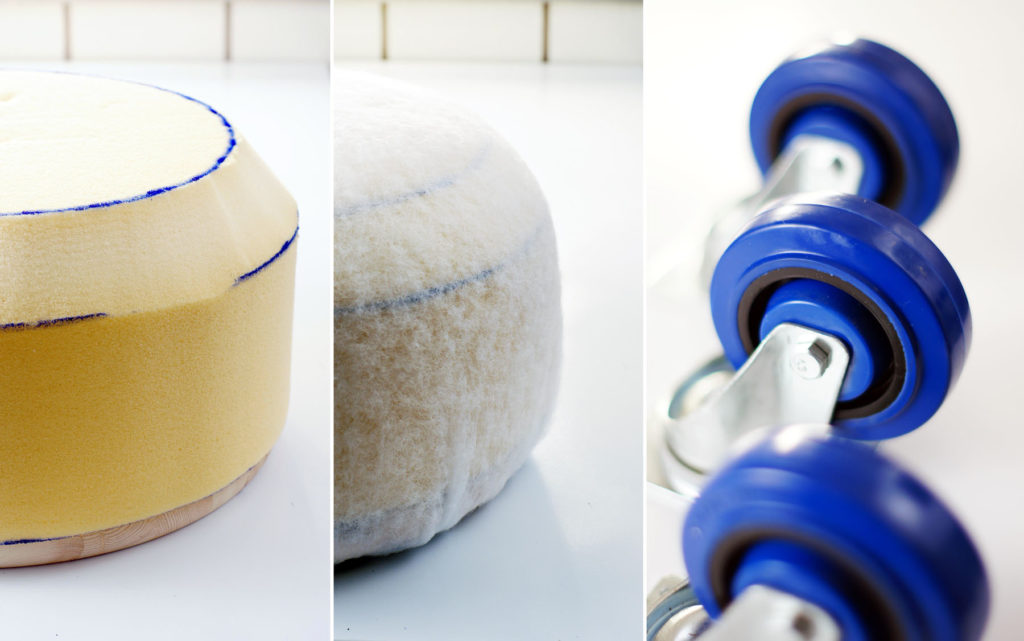
The casters were picked for this project strictly for their bright color. I found them at a home improvement store. This footstool will ultimately be used in the SK8R Boyz Room Redux. The wheels lend to the overall style very well.
savour… salvaged goods
FOOTSTOOL MAKEOVER
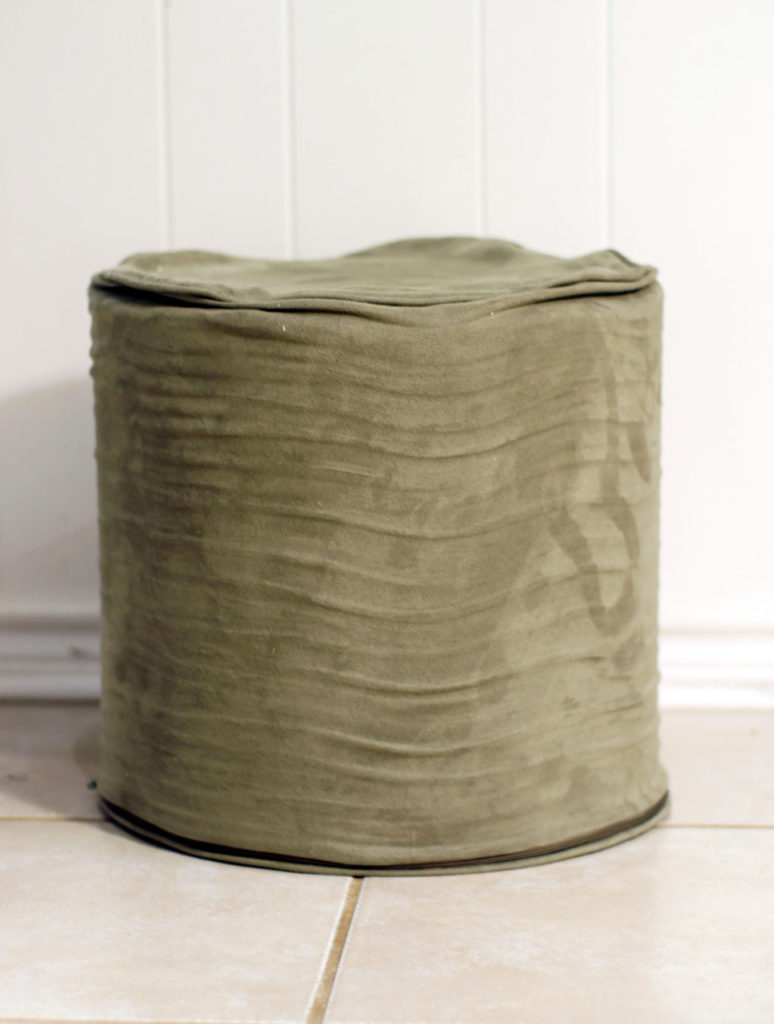
Before you start:
If you do not have the round foam you may have to cut some out of sheets of foam and glue them together with spray adhesive.
Our circle board was a pine project board from a home improvement center.
An electric bread knife is key to your success here. Let the knife do the work and just guide it along. Forcing it will create ridges.
The materials:
- High density foam 15 inch diameter, 9 inches tall.
- Spray adhesive
- Circle project board with rounded corners, 15 inch diameter.
- Batting
- Upholstery fabric
- Staples
- 3 or 4 casters depending on your preference.
- Screws to attach casters.
The tools:
- Electric bread knife for cutting foam
- Staple gun
- Hammer
- Screwdriver
- Sewing machine if custom fitting upholstery
The steps:
- Either cut your foam cylinder in half or stack up 3 three-inch thick circles that you cut out of a foam sheet and attached with spray adhesive.
- Mark 1.5 inches inside the edge on the top of the foam with a permanent marker. Make marks all the way around the top and connect the dots to create a circle inside the top 1.5 inches smaller all the way around.
- On the side at the top, make a dot 1.5 inches down from the top. Continue making the dots all the way around the top.
- With your electric bread knife, cut away the corner using the two lines that you just made as your guide (see picture).
- Apply spray adhesive to the wood base and the bottom of the foam.
- Allow the adhesive to become tacky according to the manufacturer’s instructions and then press them together.
- Cover the foam with batting and staple to the bottom of the wood base. Trim the excess.
- Cover the stool with the upholstery fabric. If you are custom fitting the cover, finish that first. If you are interested in the sea urchin cover we made, contact me for directions. Staple the fabric to the bottom of the wood base. Tap all of the staples in with a hammer.
- Trim excess fabric.
- Optional – Glue a ribbon around the edge of the fabric to cover rough edges and staples.
- Attach casters evenly on the bottom of the wood base.
