Nothing says spring and summer like a picnic. Picnics are incredibly easy to throw together and make lasting memories. Although it wouldn’t be a picnic without the basket, there are many options here. You could use something that is a bit less traditional like a rolling backpack or just a cooler. However, if you want to keep it real there are still options for that, too.
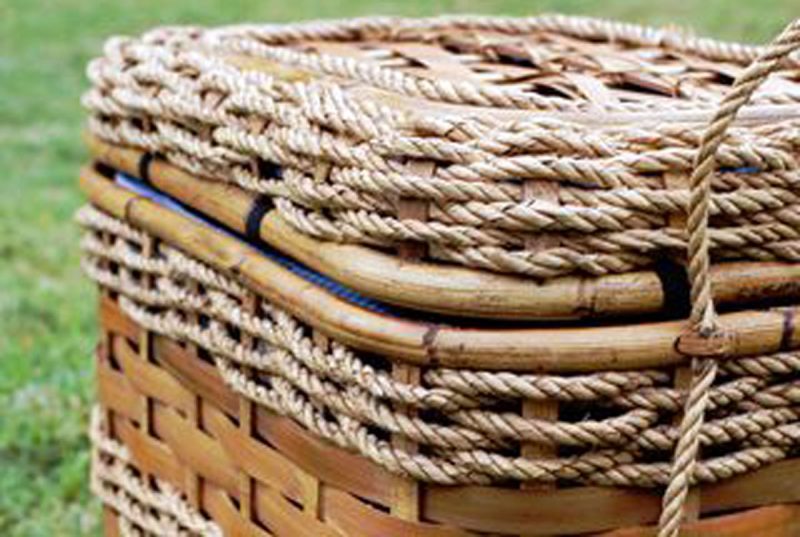
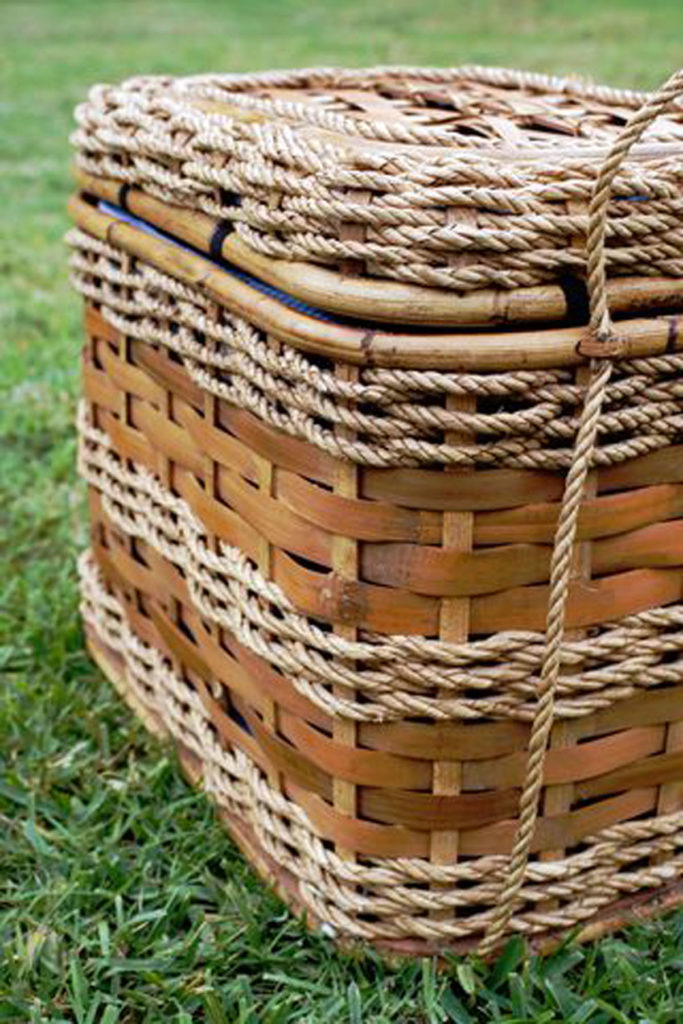
On my last thrift store safari, I found no less than 8 picnic baskets. They almost all needed some minor repairs. Only a couple were not worth the effort or cost. But here’s the thing… not one of them was more than $4.99! The big one I snagged would have cost you at least 5 or 6 times that if it was new. The only flaw was a broken handle. That was the common flaw among most of the baskets and easy enough to mend. Beyond that, I wanted to add a liner that could act as an insulator and maybe have some pockets to hold utensils and such. All in, my redux cost me twenty-five dollars (including the basket and dishes I bought).
When choosing your basket, look for one with a wooden bottom. This will be infinitely more durable than the ones that are woven in the same way the sides are woven. You may be able to glue some minor cracks in the weave, but do not waste your time on pieces that are completely broken unless you are skilled at fixing baskets and have the materials.
The rest is up to you . The liner is optional, but highly recommended. You may have all of the necessary materials right now. I purchased new gingham, but could easily have used some fabric that I already have. It took about 1.5 yards. The fabric, some elastic braiding and whatever bells and whistles you decide upon may be all you need to transform this castoff into a custom piece.
savour… one man’s trash
The first thing you should do is give the basket a good cleaning. Baskets can be delicate. The best way to handle cleaning is a feather duster or vacuum with a brush attachment. You could also use some “air in a can” for tight spaces. Lastly, you may want to wipe the basket off inside and outside with a lightly damp cotton cloth such as a cloth diaper. Do not soak or shower a basket. That amount of moisture could cause irreparable damage.
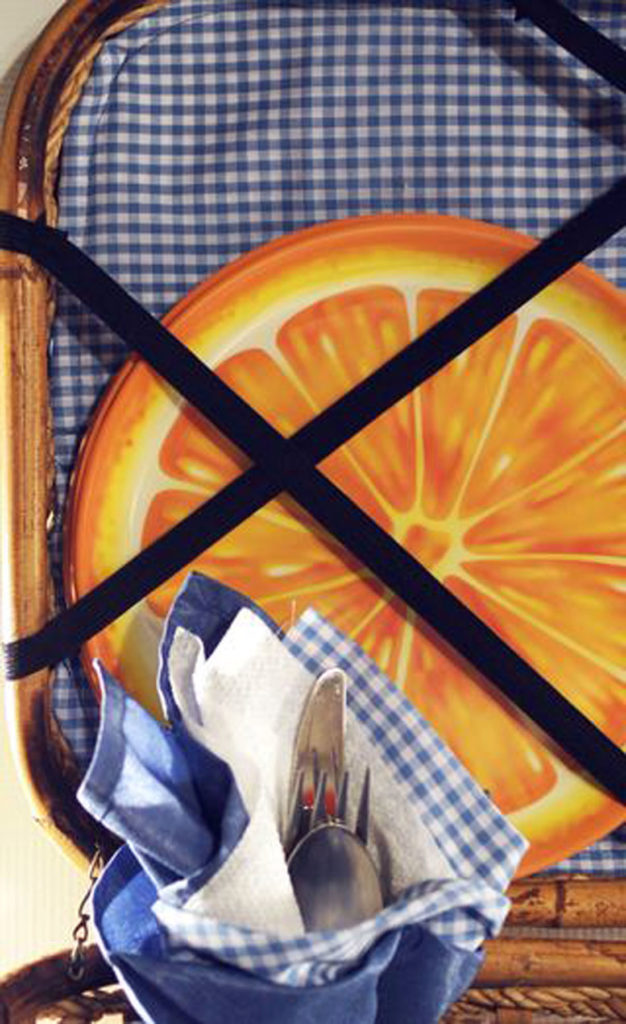
My next step was to take the measurements for the inside and draw out a plan for a liner. I used an insulated reusable grocery bag as the liner and designed a cloth liner out of blue and white gingham to cover it. Be sure to make a liner that is removable and washable to deal with any spills. I added some pockets and elastic braiding to the liner to hold essentials in place.
Once your basket is up to par and ready to be loaded, what do you put in it (besides food)? Here is a basic checklist of essential items for your picnic basket:
- plates and bowls
- tumblers
- cutlery
- small zip plastic bags for left overs
- large zip plastic bag for dirty dishes.
- napkins
- toothpicks
- salt and pepper
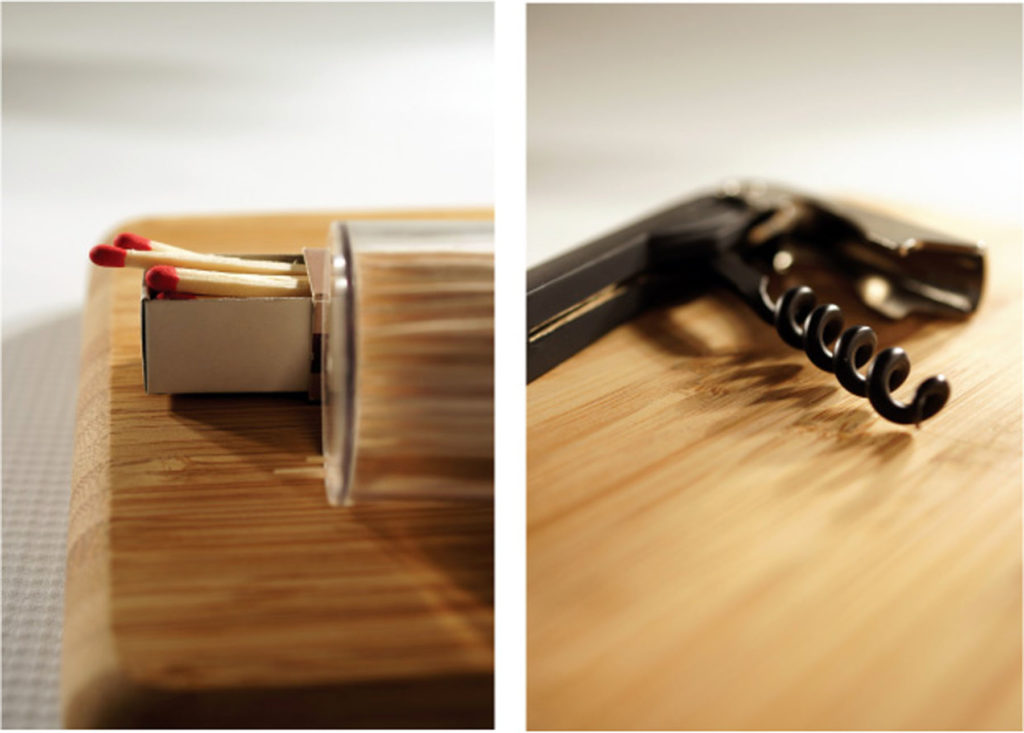
- corkscrew if necessary
- hand-wipes
- sharp knife
- small cutting board
- trash bag
- bug repellent
- kite or deck of cards
Things to consider:
Lighter is better. Someone will have to carry it all.
Condiments can often be found in tiny sizes.
Melamine dishes are light and are being produced with very cool, modern patterns.
Pack trash bags, wipes, and storage bags on the bottom. You will use those last.
Freeze non-carbonated drinks. They will act as an ice pack for the basket and should be icy cold and ready to drink at mealtime. Put them at the bottom with the heavy stuff.
The most perishable foods should be packed closest to the frozen drinks.
If you have room put a blanket on top to protect and insulate basket contents.
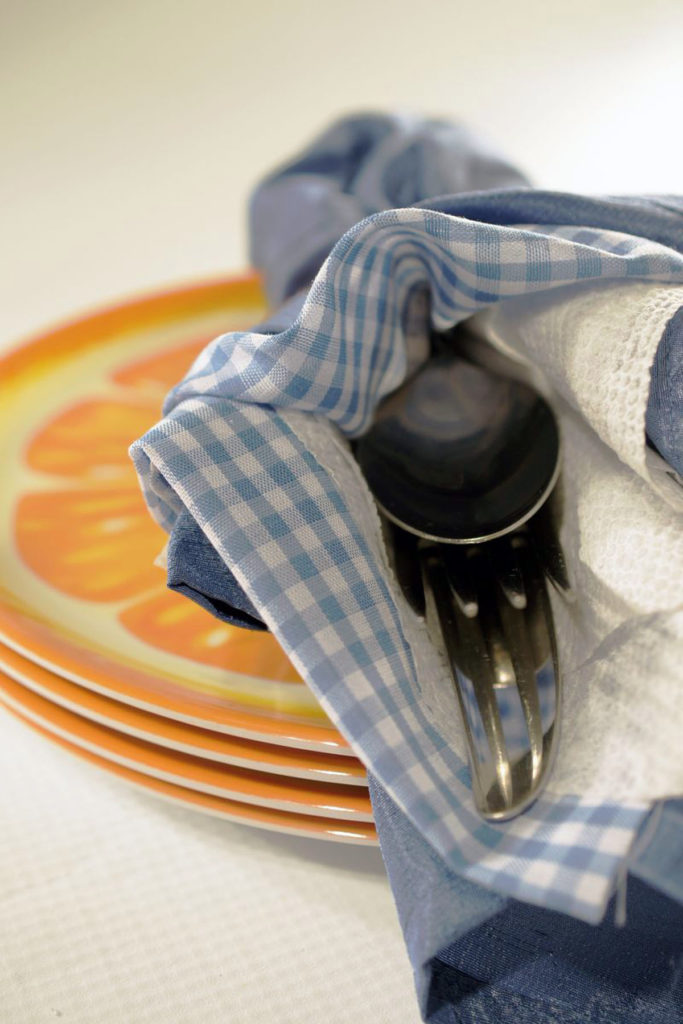
Picnics can get messy. Wrap utensils in a couple of paper napkins and a cloth napkin.
Place insect repellent and sunscreen in a plastic bag on top of the blanket (we use an old tennis ball can). You will probably need it first and the plastic bag keeps the food safe.

